


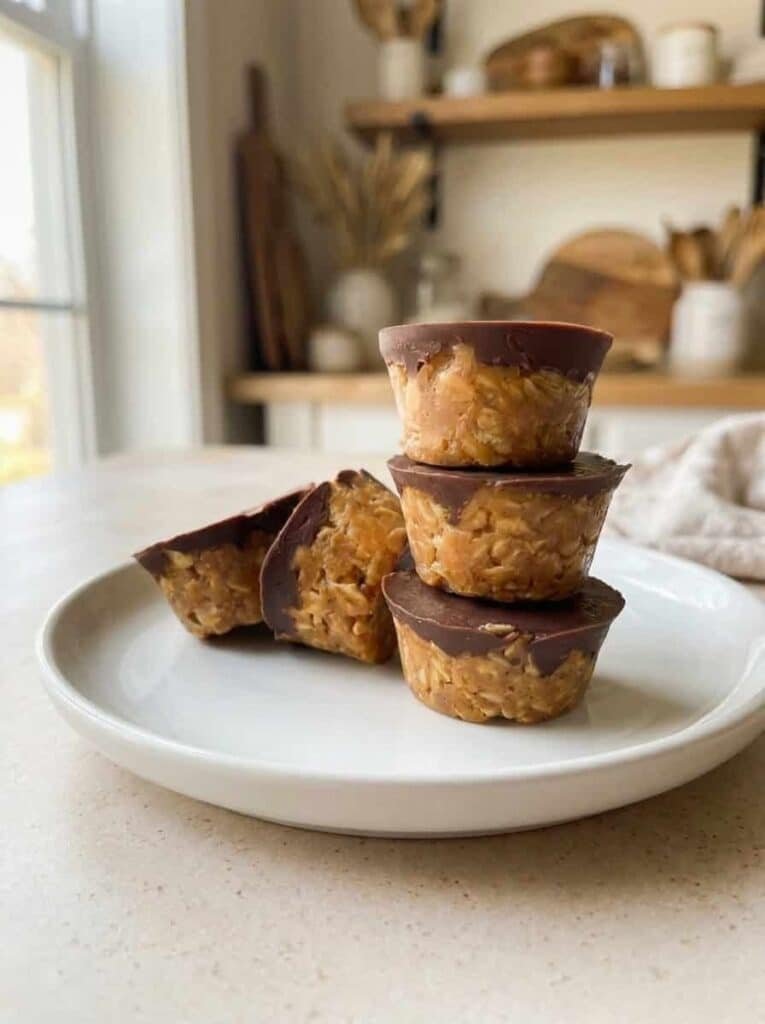

Four ingredients pressed into a mini muffin pan, topped with melted chocolate, and frozen for half an hour. Twenty four cups, no oven.
They are built for lunchboxes, which shows in the size and in the fact that they hold their shape at room temperature better than most no-bake snacks.
Press them firmly
Use the back of a spoon and press hard into each cup until the top is smooth.
This is the step that decides whether they hold together. There is no binder here beyond peanut butter and maple syrup, and those work by compression rather than by setting. Loosely spooned mixture crumbles apart the moment you pop it out of the tray.
Pressed firmly, the oats and almond flour lock into each other and the cup comes out as one piece.
A smooth flat top also matters for the next step, since melted chocolate spooned onto an uneven surface pools in the dips.
Natural peanut butter here, not conventional
Two thirds of a cup, and this is the opposite of what a baked bar wants.

Natural peanut butter, the kind listing only peanuts and salt, is drippy and loose. That looseness is exactly what you need in a no-bake mixture, where it has to coat a cup of dry oats and a quarter cup of almond flour without any heat to help it along.
Conventional stabilised peanut butter is firmer and stiffer. Used here it does not distribute properly and you end up with dry patches of oats that never bound.
Stir the jar well before measuring. The oil sitting on top is part of what makes it work.
A silicone pan makes this considerably easier
Twenty four cup mini silicone muffin pan.
Silicone flexes, so you push from underneath and the cup pops out cleanly. A metal mini muffin tin, even greased, grips these firmly and you will damage several getting them out.
If metal is what you have, line each cup with a small square of parchment or use paper mini liners.
Coconut oil in the chocolate
Two teaspoons with half a cup of chocolate chips, marked optional and worth including.
It thins the melted chocolate so it spreads into a thin even layer rather than sitting as a thick blob. It also softens the set slightly, which means the chocolate top does not shatter and crack away when you bite into it.
Straight chocolate sets hard and brittle over a soft base, which is an awkward combination to eat.
Melt in short bursts
Thirty seconds first, stir, then ten second intervals with a stir between each.
Chocolate seizes when overheated and there is no recovering it. Short bursts with stirring between lets the residual heat do most of the melting, which is gentler than continuous microwaving.
Stop when there are still a few small lumps and stir them out. Fully melted in the microwave usually means slightly overheated.
Freezer for thirty minutes
Until the chocolate has fully set, then pop them out.
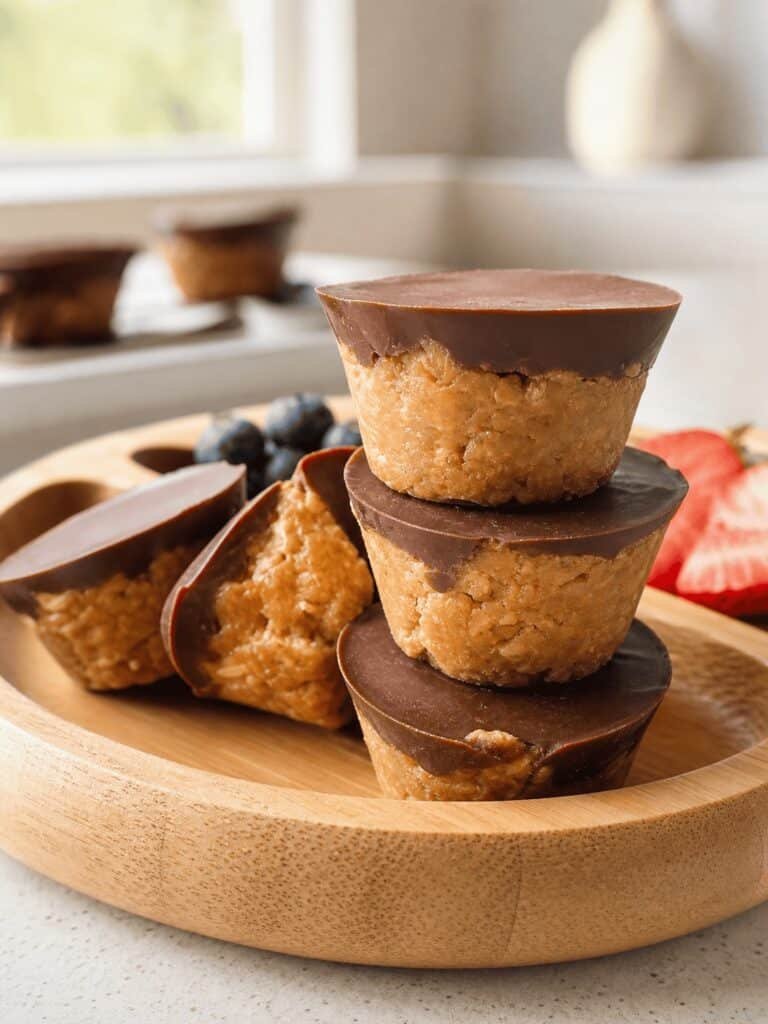
The freezer rather than the fridge is deliberate. Half an hour in the freezer sets the chocolate firmly and firms the base enough to release cleanly. The fridge takes considerably longer and the base stays softer.
Adjusting the sweetness
A quarter cup of maple syrup, and the source is careful about this.
You can reduce it slightly if you prefer them less sweet, but not by much. The syrup is doing structural work as well as sweetening, since it is the sticky component that binds the oats. Cut it too far and the mixture will not hold.
If you reduce it, add a little extra peanut butter to compensate for the lost stickiness.
Serving and keeping
Around 93 calories each, which suits the mini size and makes them a reasonable lunchbox item rather than a treat. <p>Keep them refrigerated or frozen. At room temperature for a few hours they soften but hold, which is what makes them practical for packed lunches. ## Add-ins Finely chopped nuts, shredded coconut or sprinkles all fold in well. Keep additions modest by volume, since too much extra bulk stops the mixture binding. If it seems dry after adding something, a little extra peanut butter fixes it.
Scaling down
The recipe halves cleanly into a twelve cup pan. It does not scale up easily beyond twenty four unless you have a second pan, since the mixture firms as it sits and gets harder to press.
No Bake Peanut Butter Oatmeal Cups
Description
Easy no-bake peanut butter oatmeal cups with a chocolate top, set in the freezer in half an hour.
Ingredients:
Instructions
-
Add the rolled oats, almond flour, peanut butter and maple syrup to a bowl and mix until well combined and fully incorporated
-
Spoon tablespoon-sized portions into each cup of a 24-cup mini silicone muffin pan. Use the back of a spoon to press the mixture in firmly and create a smooth top
-
Add the chocolate chips and coconut oil to a small bowl and microwave 30 seconds. Stir, then reheat in 10 second intervals, stirring between each, until fully melted
-
Spoon 1 teaspoon of melted chocolate onto each cup and smooth it out to form the top layer
-
Place the tray in the freezer 30 minutes, or until the chocolate has fully set. Pop the cups out of the silicone tray and serve.
Note
Press the mixture firmly into each cup; there is no binder beyond peanut butter and maple syrup and they hold together by compression. Use natural peanut butter that lists only peanuts and salt, since the drippy texture is what coats the oats. A silicone mini muffin pan releases cleanly where metal grips. The coconut oil thins the chocolate so it spreads and softens the set so it does not shatter. Melt the chocolate in short bursts with stirring between. Do not reduce the maple syrup much, as it binds as well as sweetens; add extra peanut butter if you do. Nutrition per cup from source: 93 calories, 9g carbohydrates, 2g protein, 6g fat, 2g saturated fat, 2mg sodium, 1g fiber, 5g sugar.