

Browned butter shortbread is what regular shortbread wants to be when it grows up. The same crisp, sandy texture, but with a deep butterscotch note underneath everything that plain melted butter can’t give you. The technique is one extra step, about five minutes of standing at the stove watching butter turn from yellow to gold to brown, and it completely changes what the cookie tastes like.
This recipe makes between 48 and 54 cookies from two rounds of dough, cut into diamonds or rectangles and baked at 325 until the edges are just golden. The milk powder is in there for the same reason as the muffins earlier in my recipe collection: it amplifies the dairy flavor and pushes the sweet, milky notes of the browned butter forward. Small addition, noticeable difference.
Browning the butter correctly
Twenty tablespoons of unsalted butter goes into a twelve-inch skillet over medium-high heat. You want a wide pan so the butter spreads out thin and the milk solids, which are what actually brown, don’t clump together and burn unevenly. Swirl the pan constantly. Watch the color of the foam on top as it settles. First it turns yellow, then gold, then the milk solids at the bottom start going brown and the whole thing smells nutty and almost caramel-like.
That’s the moment. Three to five minutes, and you’re looking for the solids to be the color of milk chocolate. Not dark chocolate, not light tan, milk chocolate. Pull it off the heat and immediately pour it into the stand mixer bowl to stop the cooking. Hot brown butter sitting in a hot pan goes from milk chocolate to bitter very fast.
Now chill it. Put the butter in the refrigerator for about thirty minutes until it’s completely cool and opaque. You cannot cream warm or liquid butter with sugar and get a light, fluffy result. Warm butter and sugar together makes a greasy, dense dough. The chilling step is mandatory, not optional, and it’s why you need to plan a little ahead.
The dough
While the butter chills, whisk together the flour, salt, baking soda, and baking powder. Both baking soda and baking powder in shortbread might seem odd, but in small amounts they contribute to a more tender crumb and slight lift without making the cookie taste like a biscuit.
Once the butter is cold and opaque, beat it with the sugar and milk powder on medium-high speed for about three minutes until light and fluffy. It won’t get as pale and voluminous as creamed butter from a room-temperature stick, but it should look lighter than when you started. Add vanilla and water, mix until combined, then add the flour mixture on low speed just until incorporated. Finish with a spatula to catch any flour pockets at the bottom of the bowl.
Rolling and cutting
Divide the dough in half and roll each piece between two sheets of parchment to a ten-inch square about a quarter inch thick. This is thinner than most shortbread, which is part of what makes these so crisp. The parchment method means you don’t need extra flour, which would toughen the dough.
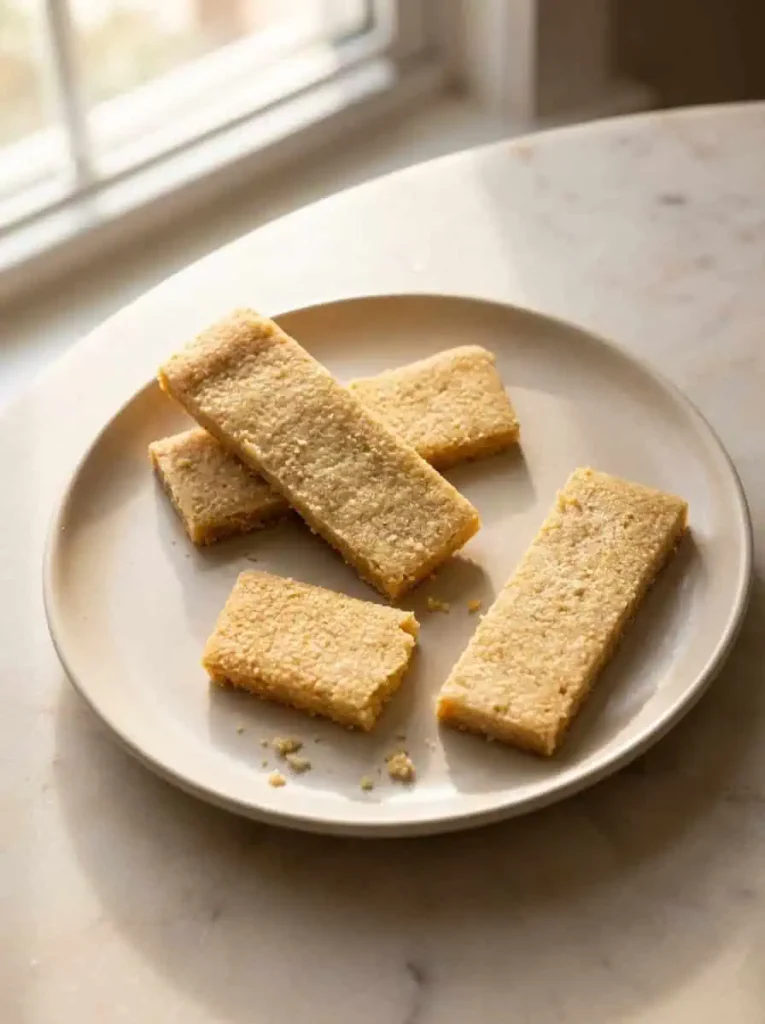
Cut off the outer half inch to get clean, straight edges, then cut into your shape of choice. Diamonds are the traditional shortbread look and come from cutting lengthwise strips first, then diagonally. Rectangles are easier and less wasteful. The edge pieces that don’t come out perfect go to whoever is doing the baking, which is one of the better privileges of making cookies from scratch.
Slide the parchment with the cut cookies directly onto a rimless baking sheet. Leave the cookies touching each other. They don’t spread, so you don’t need space between them, and touching keeps the edges straight as they bake.
Baking and the second cut
One sheet at a time, at 325, for thirteen to seventeen minutes, rotating halfway. You’re looking for the edges to turn just golden. Pale means underdone and the cookies won’t have that satisfying snap. Dark means overbaked and the butterscotch flavor turns bitter. Just golden at the edges, still slightly soft-looking in the center when you pull them out.
Let them cool for ten minutes, then cut through the scored marks again. This second cut is the trick for clean, sharp edges on the finished cookie. The first cut before baking sets the shape; the second cut after baking separates them cleanly instead of breaking. Then let them cool completely, another thirty minutes. They firm up and snap properly as they cool, so don’t judge the texture from a warm cookie.
A cookie built for patience
I have spent time in kitchens where shortbread was made for gifts and for occasions, wrapped carefully and treated like something worth the effort. I understand why. There’s a quiet precision to shortbread that other cookies don’t have. No chocolate to fold in, no filling to balance, no icing to apply. Just the quality of the butter and the care of the technique, and you can taste both directly in the finished cookie.
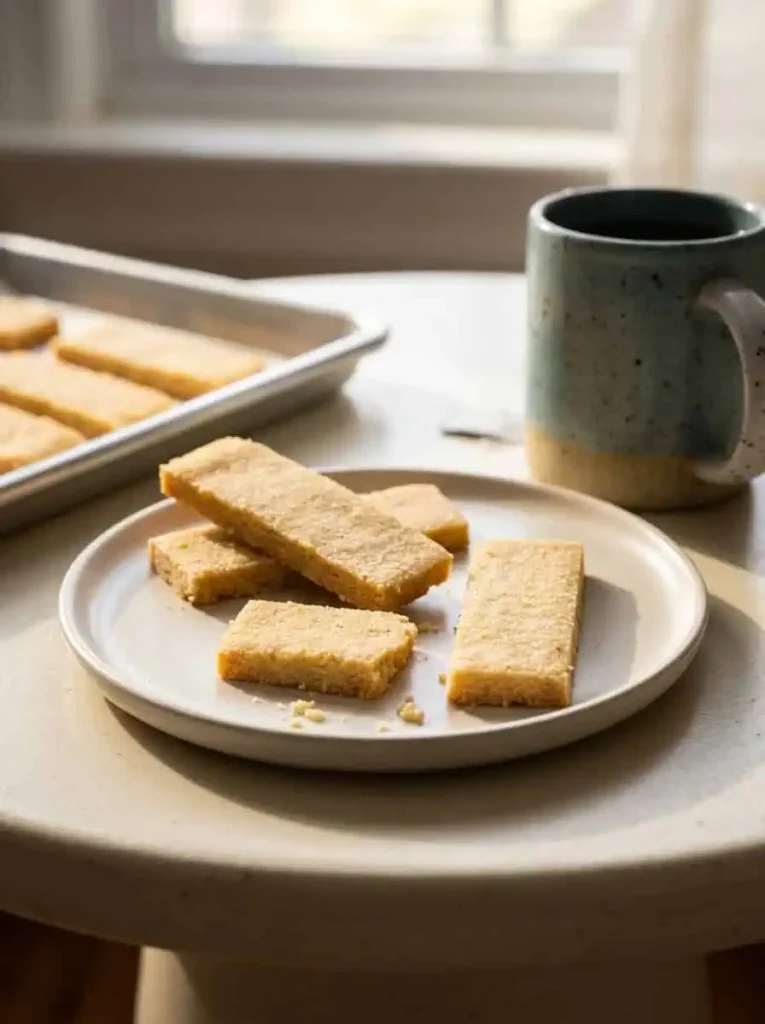
These keep at room temperature in a sealed container for up to ten days, which makes them worth making in a full batch. They’re good with tea, with coffee, on their own, or boxed up and given to someone who will appreciate that someone made them from scratch. Makes 48 to 54 cookies.
Variations worth trying
A thin strip of dark chocolate dipped on one end of each finished cookie is the most straightforward way to dress them up. A sprinkle of flaky sea salt over the top right after they come out of the oven adds a savory edge that makes the butterscotch flavor more complex. For a festive version, press a few sprinkles or a pinch of turbinado sugar onto the dough before baking. The base cookie is plain enough that almost anything you add to it works.
Browned Butter Shortbread
Description
Classic shortbread made with browned butter for a butterscotch depth regular butter can't match. Crisp, sandy, and keeps for 10 days.
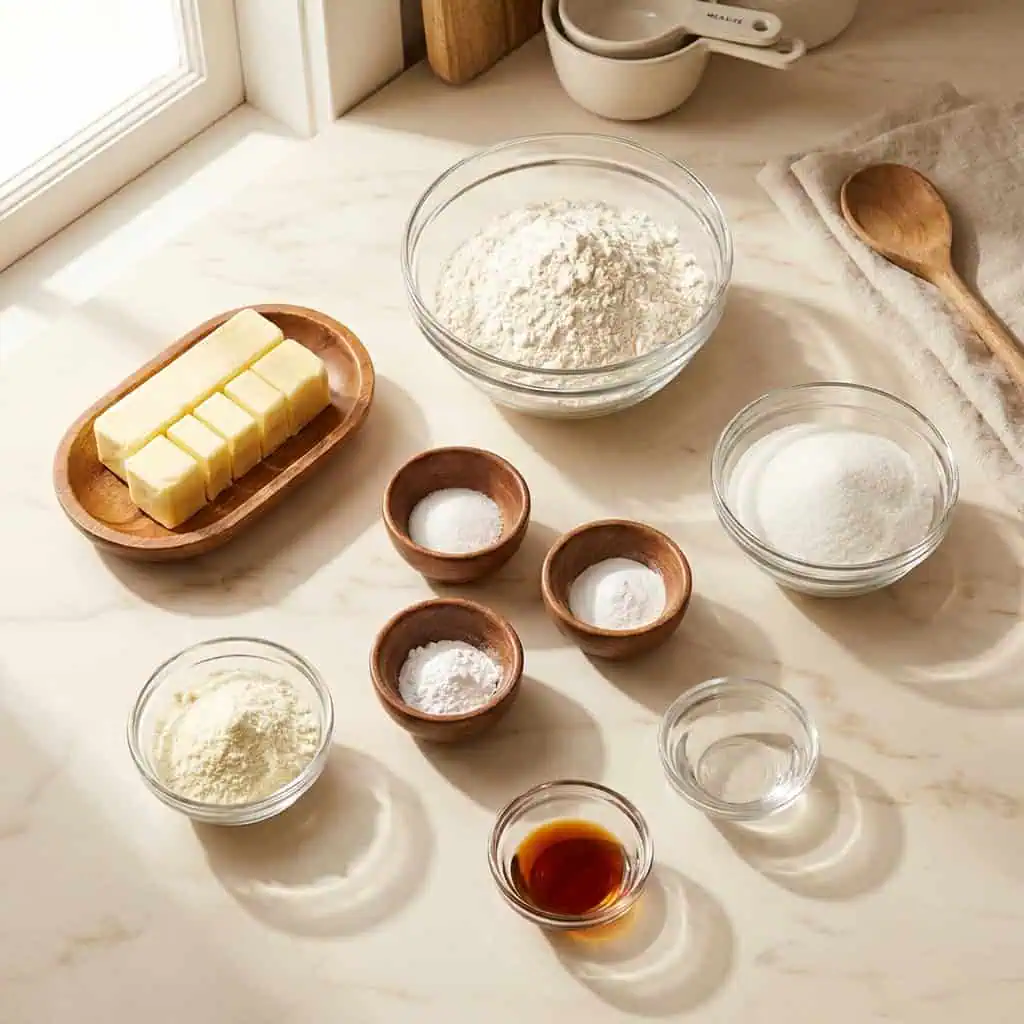
Ingredients
Instructions
-
Melt the butter in a 12-inch skillet over medium-high heat. Cook, swirling constantly, until the milk solids are the color of milk chocolate and smell toasty, 3 to 5 minutes. Pour into the stand mixer bowl and refrigerate until completely cool and opaque, about 30 minutes.
-
While the butter chills, adjust the oven rack to the middle position and preheat to 325 degrees Fahrenheit. Whisk together the flour, salt, baking soda, and baking powder in a medium bowl.
-
Beat the cooled butter, sugar, and milk powder on medium-high speed until light and fluffy, about 3 minutes. Add the vanilla and water and mix until combined, scraping down the bowl as needed. With the mixer on low, gradually add the flour mixture until just combined. Finish with a spatula to catch any flour pockets.
-
Divide the dough in half. Roll each piece between two sheets of parchment into a 10-inch square about 1/4 inch thick. Remove the top sheet of parchment.
-
For diamonds: trim the outer 1/2 inch to square the edges. Cut into 1 1/2-inch lengthwise strips, then diagonally into 1 1/2-inch strips to form diamonds. For rectangles: trim the outer 1/2 inch, then cut into 3 equal strips lengthwise and 9 equal strips crosswise. Slide the parchment onto a rimless baking sheet, leaving cookies touching.
-
Bake one sheet at a time until edges are just golden, 13 to 17 minutes, rotating halfway. Let cool 10 minutes, then cut through the scored marks again to separate cleanly.
-
Let cookies cool completely, about 30 more minutes. Store in an airtight container at room temperature for up to 10 days..
Note
Chill the browned butter fully before creaming or the dough will be greasy. The cut-before and cut-after method is essential for clean edges; do not skip either cut. Yield is 48 to 54 cookies depending on shape; servings field set to 51 as the midpoint. No nutrition data was provided for this recipe.